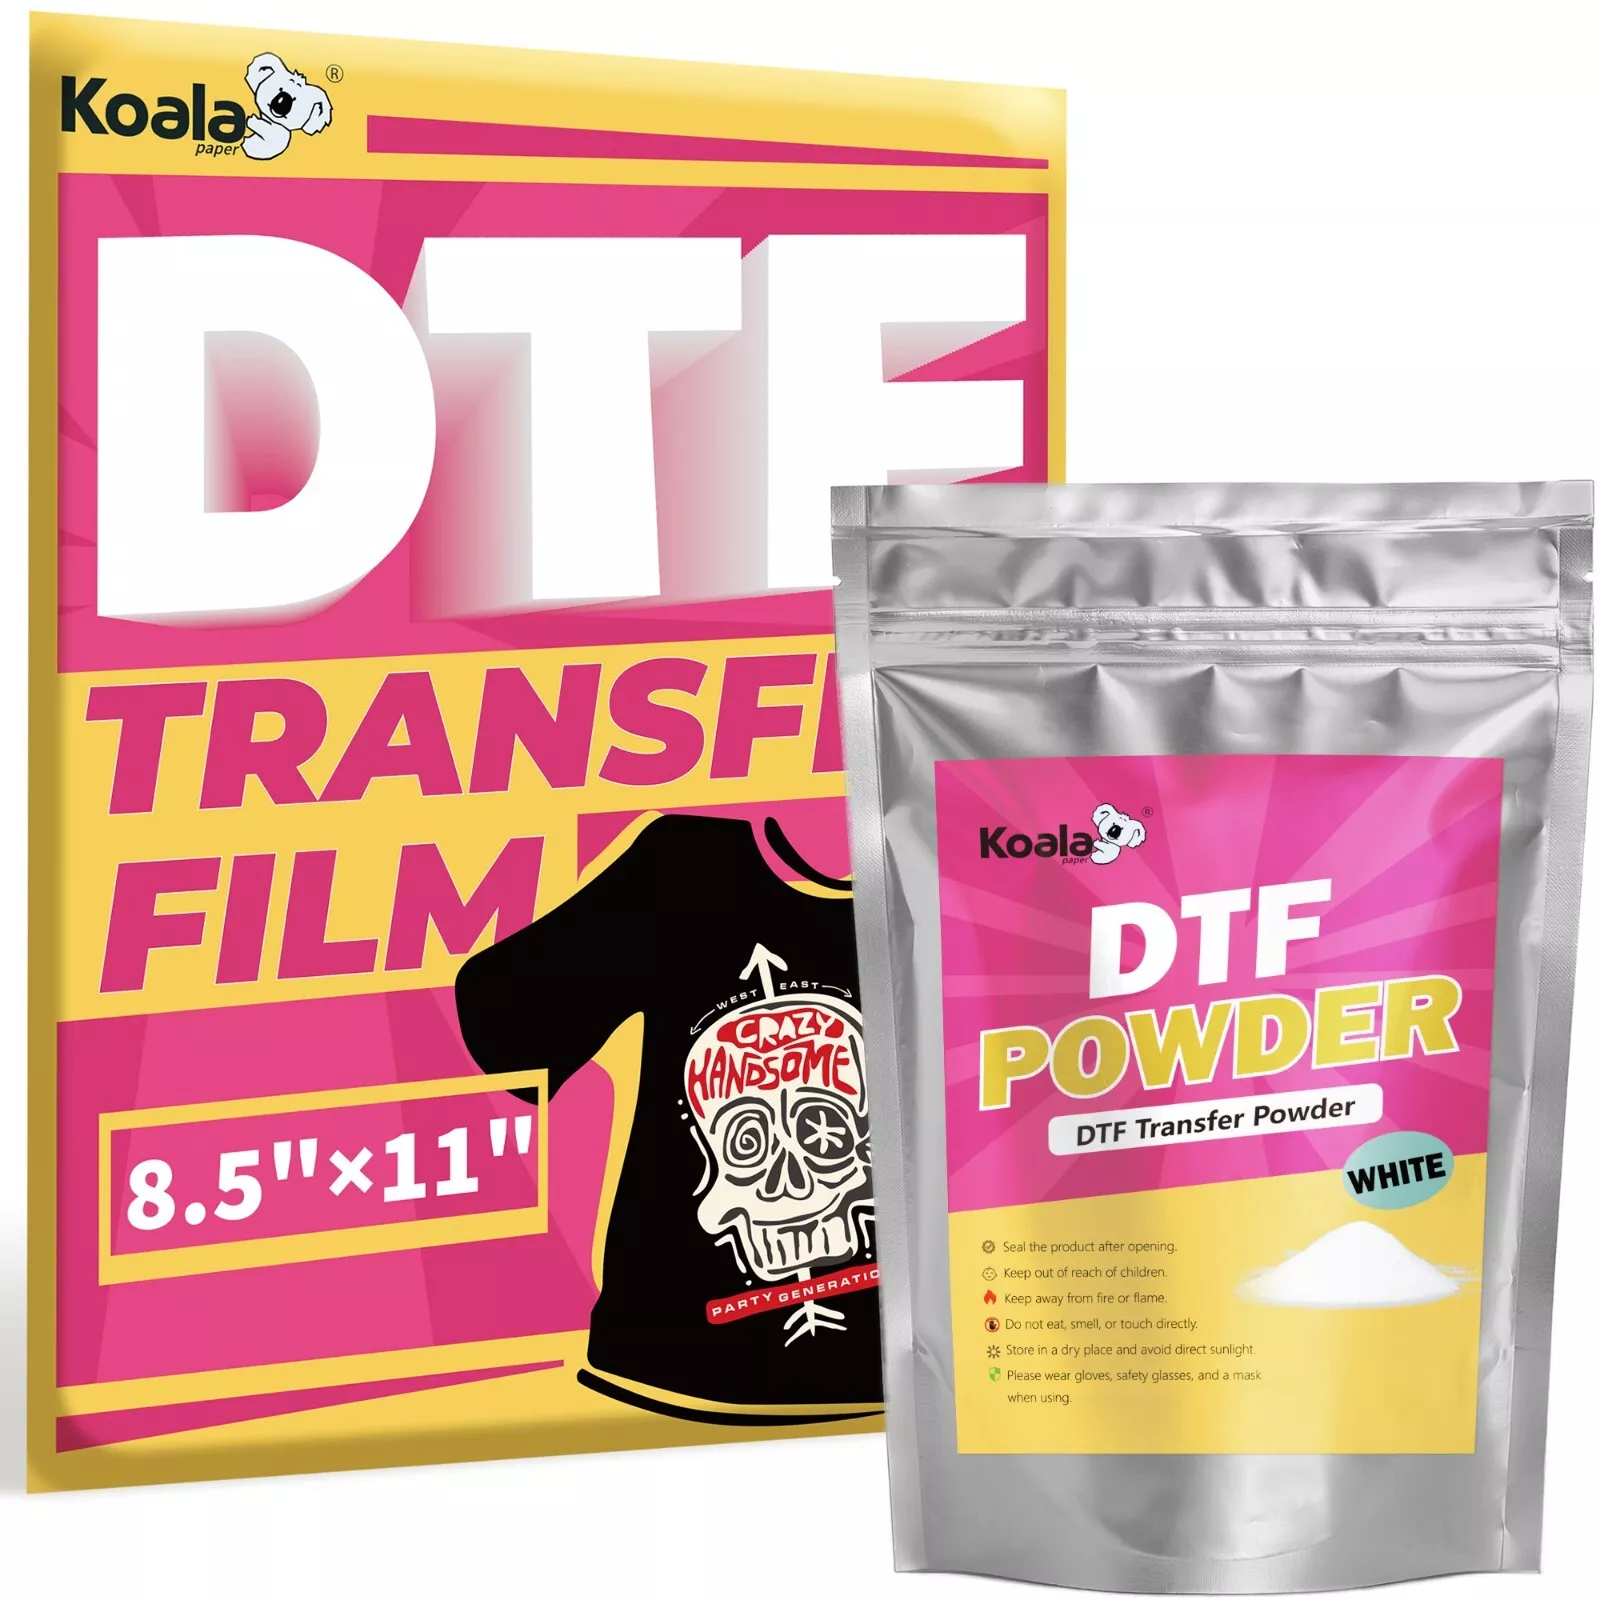
DTF Transfer Film Operation Steps – Compatible with DTF Printer & DTF Ink This guide applies to DTF transfer film, DTF transfer film roll, DTF transfer paper, DTF film, and DTF paper. Before starting, ensure you have a dedicated DTF printer, DTF ink, and DTF powder (available in our store – add to cart together). Step 1 – Print on DTF film Place the DTF transfer film with the rough side (printing surface) facing up. The smooth side is the back. Shake DTF ink well before printing to avoid blotchy patterns from ink precipitation. Use your DTF printer to print the design onto the DTF film. Step 2 – Apply DTF powder Shake DTF powder evenly over the printed DTF transfer paper. Ensure the powder sticks to the wet ink, then shake off excess powder from the DTF film roll or sheet. Step 3 – Melt the DTF powder Place the DTF film with melted powder into an oven. Bake at 150°C for 150 seconds until the DTF powder is fully melted on the DTF transfer film. Step 4 – Hot press onto garment Lay the patterned side of the treated DTF transfer film roll (or cut sheet) flat onto the garment. Use a heat press at 160°C for 10 seconds to transfer the design from the DTF paper to the fabric. Step 5 – Peel the DTF film After cooling, peel the DTF film along any corner. Your design remains on the garment. Note: Works only with DTF printer, DTF ink, and DTF powder (sold separately – buy together in our store). Our store supplies DTF transfer film, DTF transfer film roll, DTF transfer paper, DTF film, and DTF paper. Add to cart now.